Vue example app with TypeScript
JointJS+ is a standard JavaScript library that you can use in any JavaScript framework. In this tutorial, we will show how you can use JointJS+ in your Vue apps. The tutorial will go over the typical process of creating a Vue app, setting up the build process, and integrating JointJS+ components into your Vue app. The resulting very simple demo app will display the JointJS+'s Paper and PaperScroller components, and render a rectangle element to that paper area. Similarly, you can add any other JointJS+ UI components and build up a fully-featured diagramming application. Let's go!
The source code for the following tutorial can be found here. Looking for a different version of your favourite framework? Be sure to checkout the different branches of the repository to see if you find what you need.
Prerequisites
-
JointJS+ package which includes the following files (located in "build/package" directory):
"index.ts", "package.json", "joint-plus.js", "joint-plus.css", "joint-plus.d.ts" - Node.js version 16.0 or higher
Create a Vue project
Let's create a new Vue project using the create-vue command. Simply run:
npm create vue@latestThis command will install and execute create-vue, the official Vue project scaffolding tool. You will be presented with prompts for several optional features such as TypeScript and testing support. For each option choose the one that suits your needs the most. For purposes of this tutorial, these are the options we decided to choose:
- Project name: … joint-plus-tutorial-vue
- Add TypeScript? … No / Yes
- Add JSX Support? … No / Yes
- Add Vue Router for Single Page Application development? … No / Yes
- Add Pinia for state management? … No / Yes
- Add Vitest for Unit testing? … No / Yes
- Add an End-to-End Testing Solution? … No / Cypress / Playwright
- Add ESLint for code quality? … No / Yes
- Add Prettier for code formatting? … No / Yes
After a couple of seconds, a new Vue project should be created. Get started with the following commands:
cd joint-plus-tutorial-vue
npm install
npm run dev
After this, the app should be up and running at http://localhost:5173/
Add JointJS+ to the Vue project
Firstly, we need to add JointJS+ to our dependencies. For this tutorial, we will place our installable "joint-plus.tgz" package in the root directory of our Vue app. After that is completed, we can update our existing dependencies in our package.json file with the following:
"dependencies": {
    ...
    "@joint/plus": "file:joint-plus.tgz", // path to file
    ...
}
Then, run npm install.
Next, open the "tsconfig.json" file in the root project directory, and in the "compilerOptions" set "strictPropertyInitialization" to false, and "skipLibCheck" to "true" as there is no need for the TS compiler to check the JointJS+ library:
"compilerOptions": {
    ...
    "strictPropertyInitialization": false,
    "skipLibCheck": true,
    ...
},
Build your app
Before we start, let's clean up our project a little bit:
-
Remove the "assets/base.css" file
-
Open "assets/main.css" and delete all contents
-
Open "src/App.vue" and:
-
Remove everything between the "<script>" tags
-
Remove everything between the "<template>" tags
-
Remove everything between the "<style>" tags
-
After completing those steps, your "main.css" file should be blank, and "App.vue" should look like the following:
<script setup lang="ts"></script>

<template></template>

<style scoped></style>
Now, let's add our canvas container. Inside the "<template>" tags, add an empty "div" with a class of "canvas", and a ref attribute with a value of "canvas". Ref is a Vue instance property that will allow us to access an HTML element from the script.
Our template will now look like this:
<template>
    <div class="canvas" ref="canvas"></div>
</template>
It's time to add some basic styling. Change your "<style></style>" section to:
<style scoped>
.canvas {
  width: 100%;
  height: 100%;
}

.canvas:deep(.joint-paper) {
  border: 1px solid #a0a0a0;
}
</style>
Also, apply some basic styling together with default JointJS+'s using an import statement in the "main.css" file. After the modifications, it should look like so:
@import '@joint/plus/joint-plus.css';

body {
  height: 100vh;
  box-sizing: border-box;
  margin: 0;
}

#app {
  height: 100%;
}
In "App.vue", import the Vue essential ref, lifecycle hook onMounted as well as JointJS+ dia, ui and shapes namespaces:
import { ref, onMounted } from 'vue';
import { dia, ui, shapes } from '@joint/plus';
After that, inside the setup method add:
const canvas = ref<Element | null>(null);

const graph = new dia.Graph({}, {
  cellNamespace: shapes
});
const paper = new dia.Paper({
  model: graph,
  background: {
    color: '#F8F9FA'
  },
  frozen: true,
  async: true,
  sorting: dia.Paper.sorting.APPROX,
  cellViewNamespace: shapes
});

const scroller = new ui.PaperScroller({
  paper,
  autoResizePaper: true,
  cursor: 'grab'
});
You can see that the canvas variable in the provided code snippet is initialized with the value of null. We do that to let Vue know that this is going to be an element reference. The name of the variable has to match the "ref" attribute on the DOM element you are trying to reference - so in our case "canvas." We also initialize essential JointJS+ functionalities such as Graph, Paper, and PaperScroller.
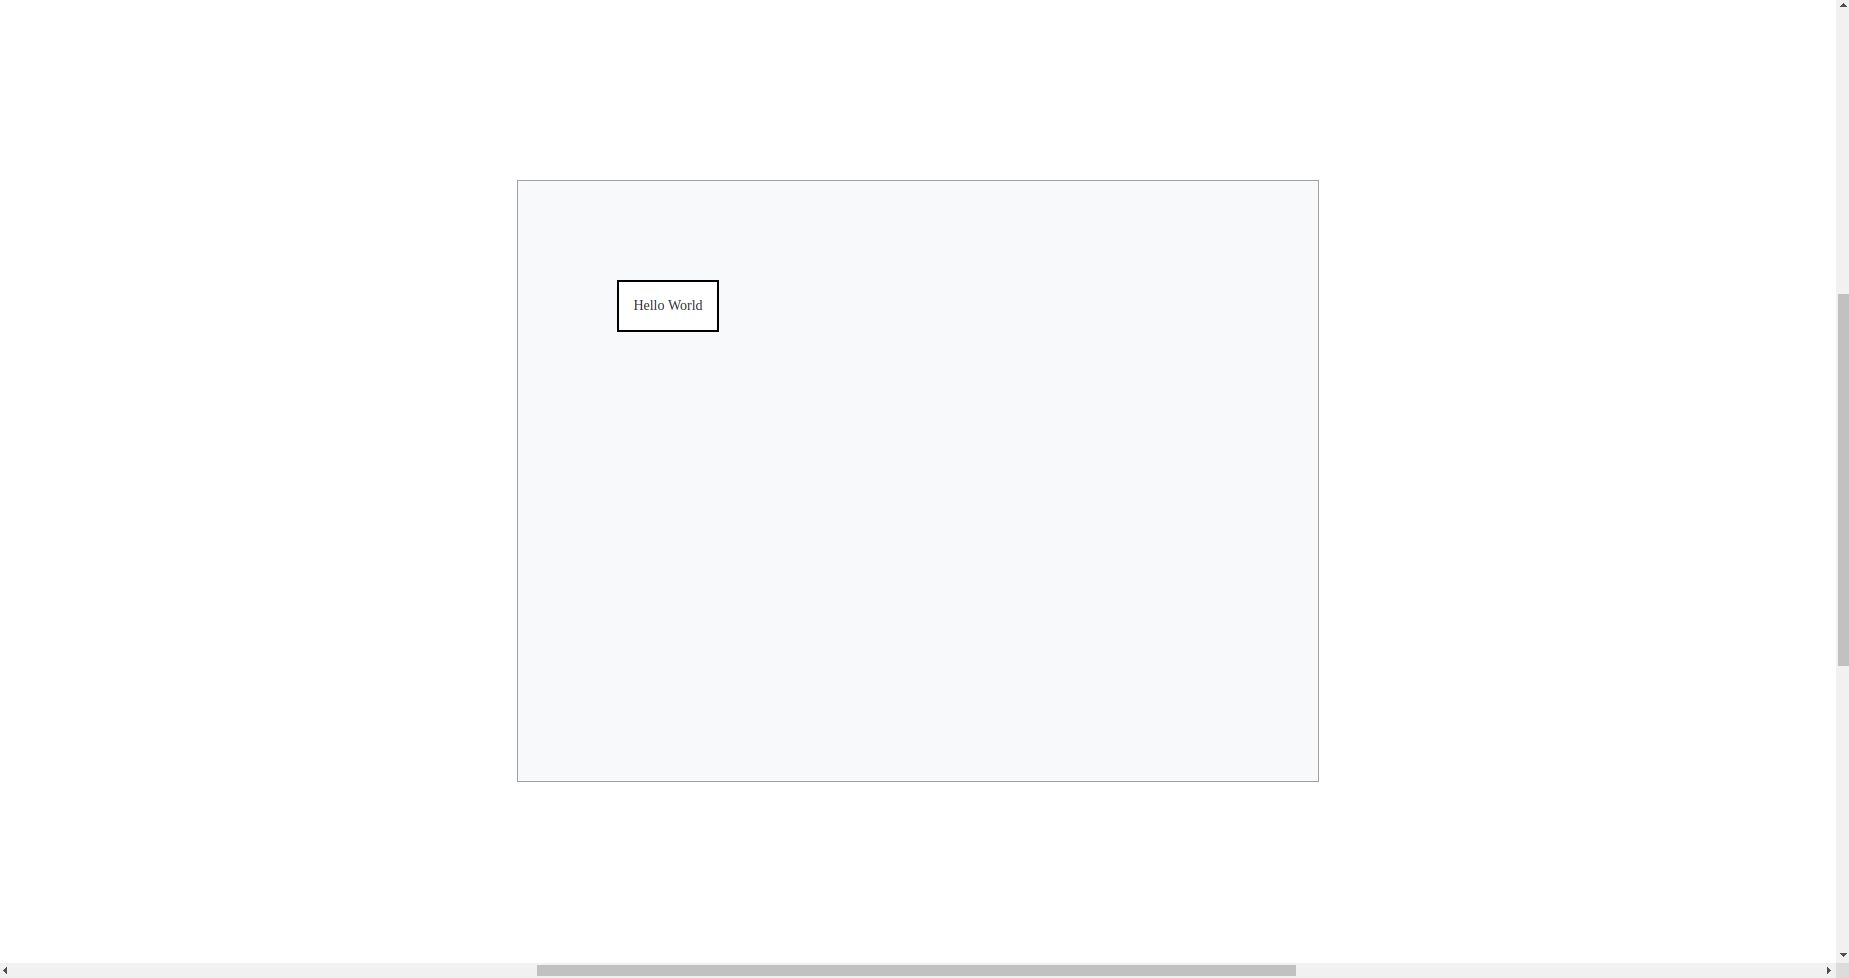
Now, let's render our PaperScroller component, create a simple rectangle shape, and add it to our graph. Add the following code inside the setup method:
scroller.render();

const rect = new shapes.standard.Rectangle({
    position: { x: 100, y: 100 },
    size: { width: 100, height: 50 },
    attrs: {
        label: {
            text: 'Hello World'
        }
    }
});

graph.addCell(rect);
At this point, our application includes a core foundation for holding the model data, but we still need to add our rendered PaperScroller element to the DOM and we need to do it when the Vue application was already mounted. Luckily Vue provides us with many lifecycle hooks like onMounted and many more to do just that.
Let's add our onMounted hook to our setup method:
onMounted(() => {

});
Every lifecycle hook accepts a callback function that is run in the corresponding phase of an application. In our case, we want to append the created JointJS+ PaperScroller component, center it, and also unfreeze the Paper when the application component has been mounted. To do just that add the following code inside the onMounted callback function:
canvas.value?.appendChild(scroller.el);
scroller.center();
paper.unfreeze();
The final code in "App.vue" should look like the following:
<script setup lang="ts">
import { ref, onMounted } from 'vue';
import { dia, ui, shapes } from '@joint/plus';

const canvas = ref<Element | null>(null);

const graph = new dia.Graph({}, {
  cellNamespace: shapes
});
const paper = new dia.Paper({
  model: graph,
  background: {
    color: '#F8F9FA'
  },
  frozen: true,
  async: true,
  sorting: dia.Paper.sorting.APPROX,
  cellViewNamespace: shapes
});

const scroller = new ui.PaperScroller({
  paper,
  autoResizePaper: true,
  cursor: 'grab'
});

scroller.render();

const rect = new shapes.standard.Rectangle({
  position: { x: 100, y: 100 },
  size: { width: 100, height: 50 },
  attrs: {
    label: {
      text: 'Hello World'
    }
  }
});

graph.addCell(rect);

onMounted(() => {
  canvas.value?.appendChild(scroller.el);
  scroller.center();
  paper.unfreeze();
});
</script>

<template>
    <div class="canvas" ref="canvas"></div>
</template>

<style scoped>
.canvas {
  width: 100%;
  height: 100%;
}

.canvas:deep(.joint-paper) {
  border: 1px solid #a0a0a0;
}
</style>
Everything is ready! Now run npm run dev to host your application.
Your demo app should look like this: